Life Drawing Essentials for Evening Sessions
Master the human form through gesture, proportion, and movement. Perfect for beginners looking to build confidence drawing from live models.

Why Evening Sessions Work for Adult Learners
Evening life drawing classes have become increasingly popular across Europe, and there's good reason for that. After work, you're ready to focus. You're not rushing between commitments — you're deliberately choosing to spend time developing your craft. Most adult students find that evening sessions create a calmer, more concentrated learning environment.
Life drawing isn't about creating photorealistic portraits. It's about understanding the human figure well enough to draw it convincingly from any angle, in any pose. We're talking about capturing essence, movement, and proportion. You'll learn how the body actually works — not just how it looks.

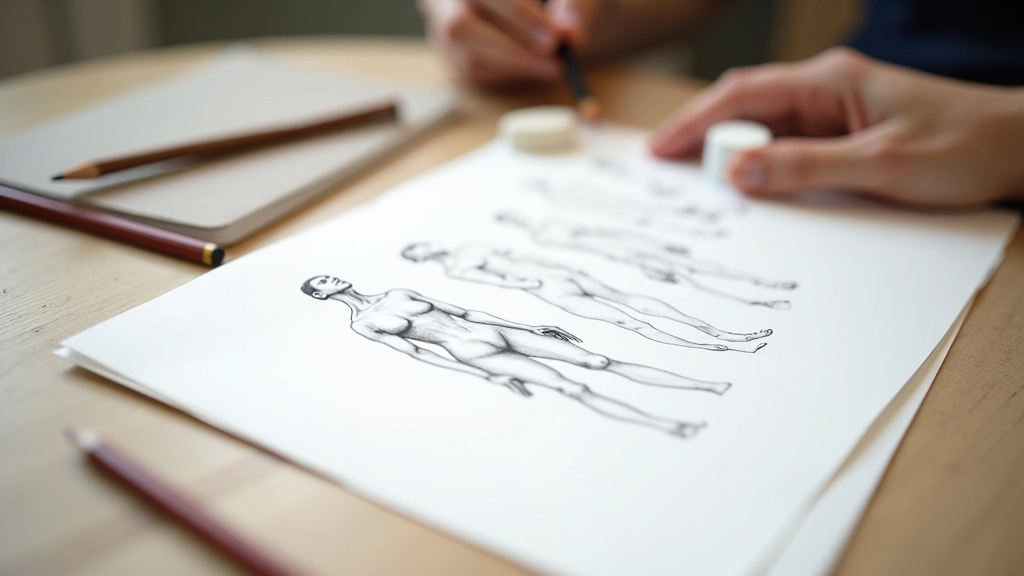
Getting the Proportions Right
Here's what you'll discover: the human head fits into the body's proportions about 7 to 8 times. The halfway point of the body isn't at the waist — it's at the hip joint. Understanding these relationships changes everything about how you approach a drawing.
We don't teach you to memorize rules. Instead, you'll learn to measure relationships using simple techniques. Hold your pencil at arm's length. Use the model's head as a unit of measurement. Compare angles and distances. These practical methods work whether you're drawing from life or from imagination later on.
Essential Proportions to Remember
- Head to body ratio: approximately 1:7 or 1:8
- Shoulders span roughly 2.5 head-widths
- Arms reach to mid-thigh when relaxed
- Hip width approximately equals shoulder width
Gesture Drawing: Capturing Movement in 60 Seconds
Gesture drawing is where the magic happens. You'll get 30, 60, or 90-second poses — brief windows to capture not just what the model looks like, but how they're standing, sitting, or moving. The goal isn't detail. It's flow. It's energy.
In these quick sketches, you're learning to see the line of action — the imaginary line that flows through the body showing its movement and balance. A standing figure might have a gentle curve to that line. Someone reaching might create a sharp diagonal. Once you see that line, everything else falls into place more naturally.
"The first minute of a pose is about getting the attitude right. Everything else is just refinement."
— Drawing instructor principle
Four Core Techniques You'll Master
Evening sessions follow a natural progression. You'll start loose and gradually add structure. Here's what a typical session looks like:
01
Quick Sketches (10 minutes)
Three to five quick poses. You're getting comfortable with the model, warming up your hand, and practicing seeing proportions. Charcoal or graphite — whatever feels natural.
02
Longer Gesture (15 minutes)
A single pose held longer. Now you're adding more form to your gesture line. You'll start indicating muscle groups and the way light hits the body. Still loose, still flowing.
03
Value Study (20 minutes)
Focus on light and shadow. You're building understanding of three-dimensional form. Where does shadow fall? How does the light wrap around the body? This is where drawings gain depth.
04
Detailed Study (25 minutes)
The longest pose of the session. You've got time to refine. Focus on proportional accuracy, subtle anatomy details, and really capturing likeness if you're working from a specific model.

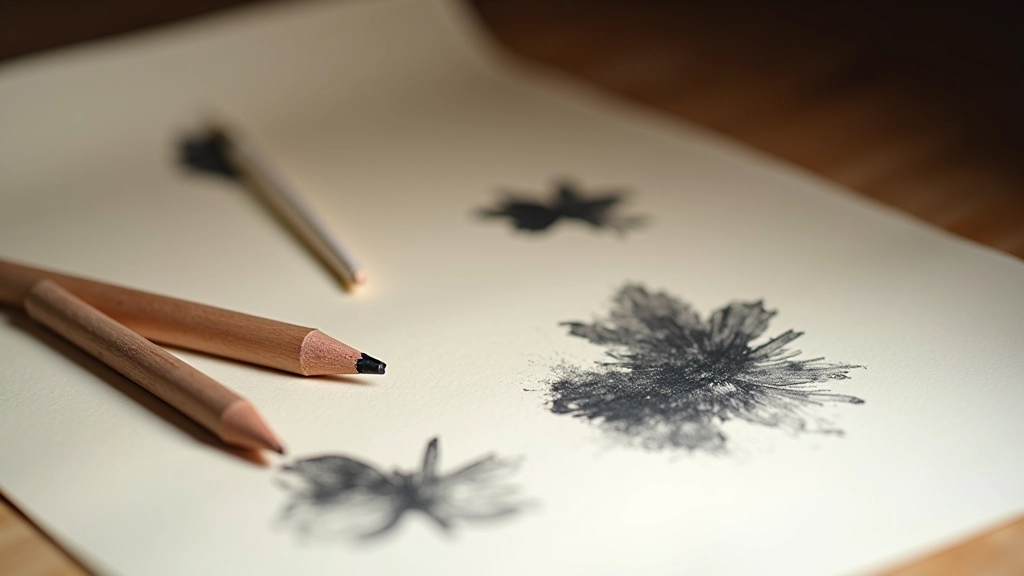
Materials That Actually Make a Difference
You don't need expensive supplies to start. But the right tools do matter. A smooth paper fights you less than a rough one. Good erasers let you make corrections without destroying your work. Quality pencils stay sharp longer and give you better control.
Most evening students use charcoal or graphite pencils. Charcoal gives you speed — you can cover large areas quickly. Graphite offers more control for detailed work. Many artists use both in the same drawing. You'll figure out your preference pretty quickly once you start.
Recommended Starting Kit
- Medium-weight sketch paper or newsprint pad (affordable, forgiving)
- Charcoal pencils in HB, 2B, 4B grades
- Graphite pencils 2B, 4B, 6B for variety
- Kneaded eraser (doesn't damage paper)
- Blending stumps for smoothing charcoal
What to Expect in Your First Month
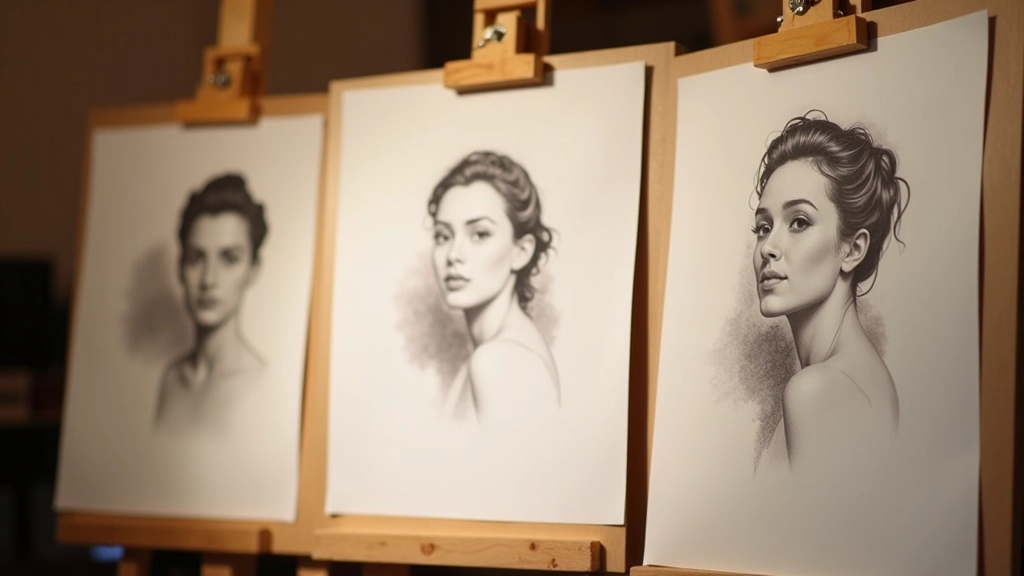
Progress in life drawing isn't always visible week to week. But after a month of regular evening sessions, you'll notice real changes:
Week 1-2: Getting Comfortable
Your first sketches might feel awkward. That's completely normal. You're learning to see proportions instead of relying on habit. Your hand is getting used to flowing gestures instead of careful, tight lines.
Week 3-4: Things Click
Around week three, something shifts. You stop overthinking proportions and start seeing them naturally. Your gesture drawings flow better. You're confident enough to add shadow work without second-guessing yourself.
Practical Tips for Evening Sessions
Squint to See Values
Half-close your eyes when looking at the model. You'll see the major light and shadow patterns more clearly. Details disappear, and you're left with the essential shapes. This trains your eye to prioritize what matters.
Don't Erase Everything
Keep your construction lines visible. They show your thinking. Plus, light construction lines under finished work add visual interest and authenticity that erasing takes away.
Measure Consistently
Pick one measurement unit — usually the head — and stick with it throughout the drawing. Don't let your unit grow or shrink halfway through. This keeps proportions honest.
Focus on What You Enjoy
Some students love detailed facial features. Others prefer capturing movement in the whole body. You don't have to excel at everything. Develop your strengths and let your style emerge naturally.
Learn from Others
Look at what other students around you are doing. You'll pick up different approaches and techniques just by being in the same room. Evening sessions create a natural collaborative learning environment.
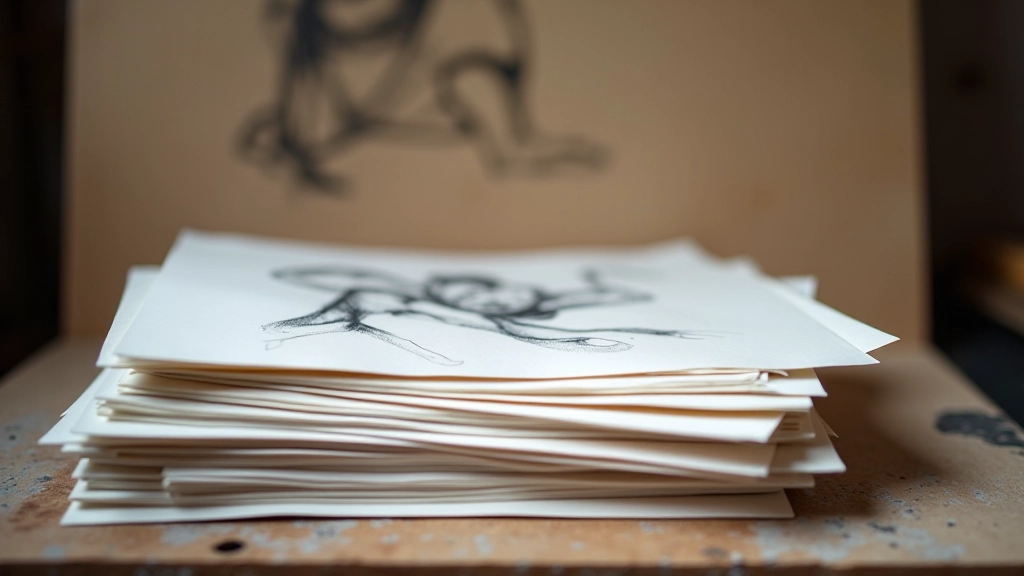
Keep Sketchbooks
Save every session's work. Looking back at sketches from three weeks ago makes progress visible. You'll be amazed at the difference when you flip through pages in sequence.
Start Your Evening Drawing Practice
Life drawing doesn't require years of study to become rewarding. Within a few weeks, you'll draw figures that look convincing. Within a few months, you'll have a personal style emerging. The human form becomes less intimidating and more interesting the more you study it.
Evening sessions work because they're intentional. You're not rushing. You're not trying to squeeze art into a busy schedule. You're actually showing up for yourself and your craft. That commitment matters more than natural talent. We've seen it countless times — people who started hesitant become confident, skilled artists because they kept showing up.
Ready to Begin?
Join other adult learners in our evening life drawing sessions. You'll work from live models, learn practical techniques, and develop your unique artistic voice in a supportive environment.
Learn More About ClassesAbout This Guide
This article provides educational information about life drawing techniques and fundamentals for evening study sessions. The methods and approaches described are based on traditional art instruction principles. Individual results vary based on practice, natural ability, and dedication to learning. We recommend supplementing these fundamentals with hands-on instruction from experienced instructors and regular practice from live models or reference materials. Art development is a personal journey — what works for one student might need adjustment for another.
Explore More Drawing Topics