Acrylic Painting Techniques That Work
Master layering, glazing, and texture to create expressive paintings that capture your vision
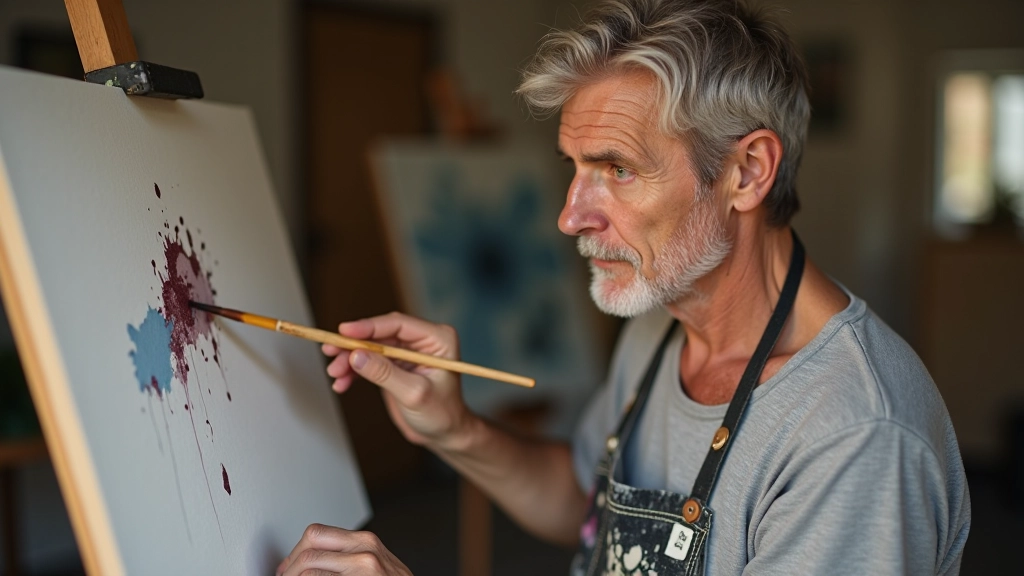
Why Acrylics Are Perfect for Learning
Acrylics offer something watercolours and oils don't: flexibility combined with speed. You're not waiting hours for layers to dry. You don't need toxic solvents or special ventilation. What you get instead is a medium that forgives mistakes, allows you to build texture, and actually encourages experimentation.
The quick-drying nature means you can layer freely. Made a mark you don't like? Paint over it. Want to test a colour theory idea? Go ahead. Most acrylic painters find they develop their style faster because they're not waiting for materials — they're actually painting.
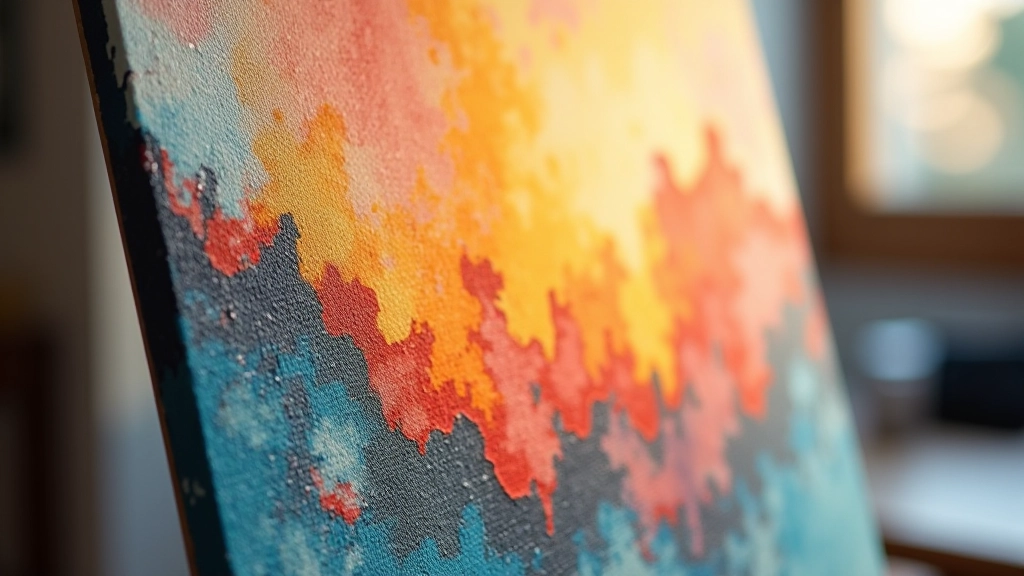
Building with Layers
Layering is where acrylics shine. Start light, go dark — or do it backwards if you want. Each layer dries in 15-30 minutes depending on thickness, so you're not stuck waiting all day.
Here's the practical approach: lay down your base colour thinly. Let it dry. Add a second layer, building your values gradually. By layer three or four, you'll notice your painting gaining depth. The magic happens when you let the colours underneath show through slightly — that's where visual interest lives. Don't cover everything completely. Strategic transparency is what separates flat paintings from ones that breathe.
The 3-Layer Foundation
- Layer 1 (Thin): Establish basic shapes and light values
- Layer 2 (Medium): Build mid-tones and define forms
- Layer 3 (Thicker): Add details, darks, and texture
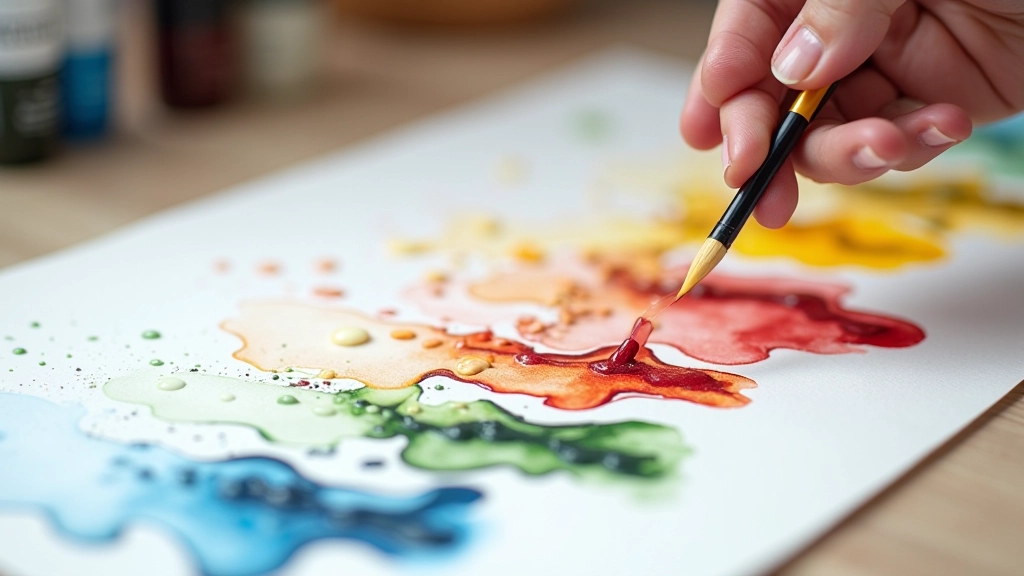
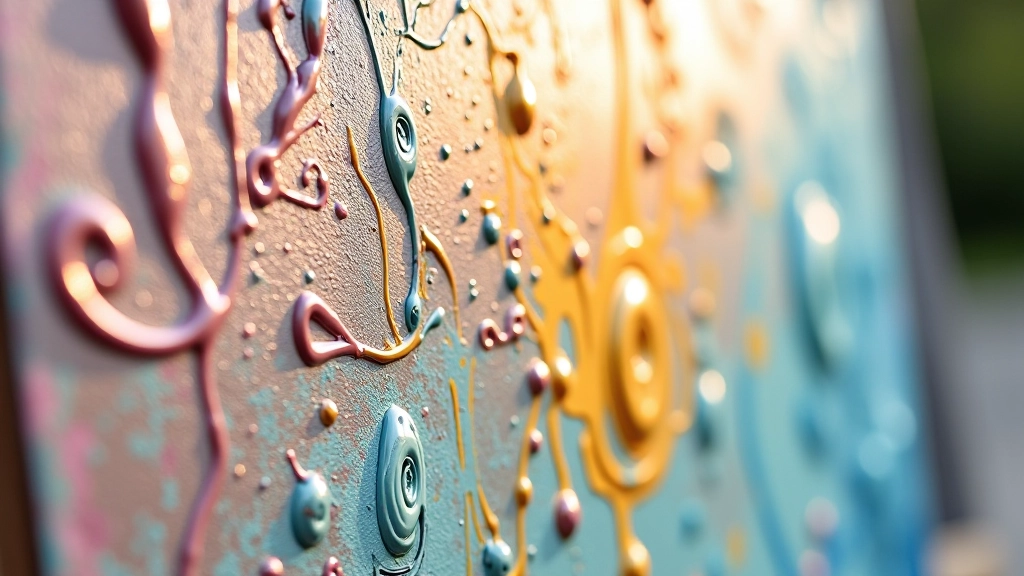
Glazing Technique for Luminosity
Glazing means applying thin, transparent layers of colour over dried paint. It's not about coverage — it's about modifying colour and creating atmospheric effects. Water down your acrylic to a milky consistency. You'll need patience here because the payoff is genuine luminosity that feels alive.
A warm glaze over cool colours creates richness. Cool glazes over warm areas push things back spatially. You're essentially tinting your painting without repainting it. Professional painters often do 5-8 glaze layers on a single painting. Sounds excessive? It's not. Each one shifts the mood slightly, building complexity that flat painting can't achieve. Most beginners skip glazing because it feels slow. That's exactly why you should practice it — it teaches colour relationships that will transform your entire approach.
Pro tip: Use a soft, wide brush for glazing. Long, smooth strokes. Don't scrub — you'll pick up the layer beneath. And always let each glaze dry completely before adding the next.
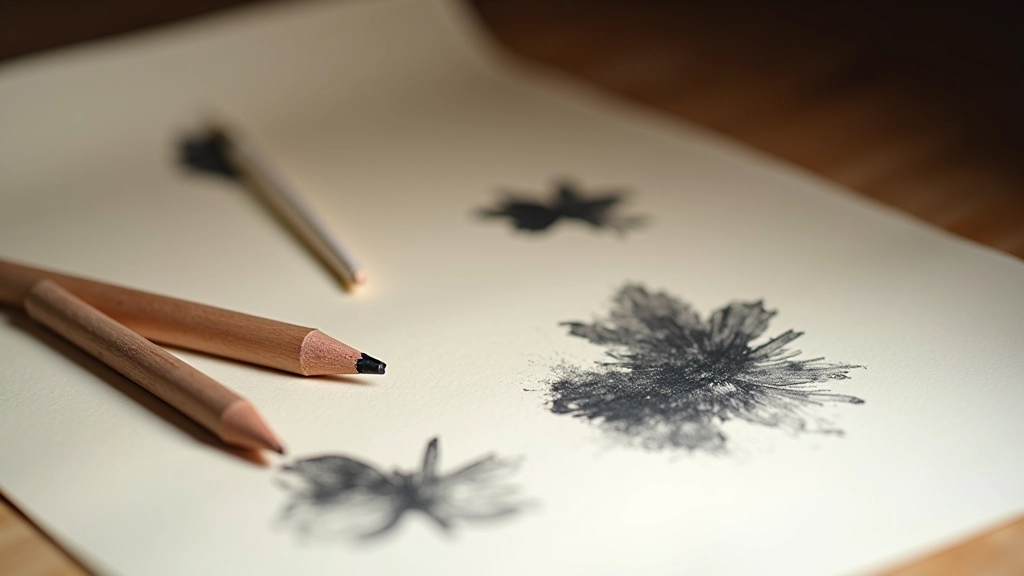
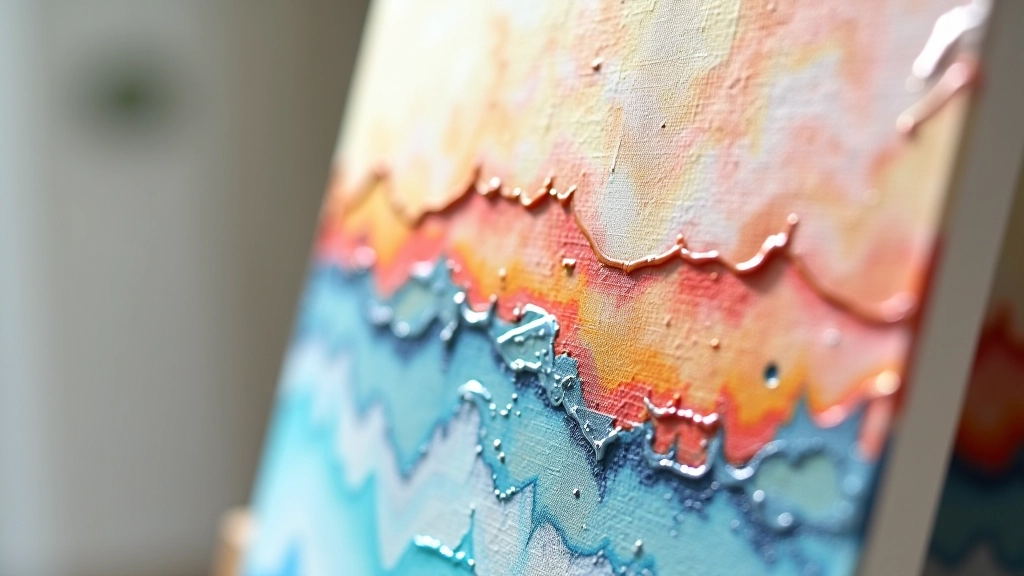
Creating Texture and Movement
Texture isn't decoration — it's information. Physical texture (impasto) catches light and creates shadow, adding dimension that flat colour can't match. Thick paint application with a palette knife creates completely different visual effects than thin brushwork.
You've got options. Use a palette knife for bold, angular marks. Load a stiff brush and drag it through wet paint. Stipple with a sponge. Dry brush over existing layers. Each technique communicates something different. A landscape needs different texture language than a portrait. Rocks need texture that suggests weight. Water needs texture that suggests movement. Your texture choices tell the viewer what they're looking at.
Texture Methods Worth Trying
Colour Mixing and Control
Here's where beginners often struggle: acrylics dry darker than they appear wet. You mix a colour that looks perfect on your palette. Twenty minutes later, it's two shades darker on your canvas. Frustrating? Yes. Preventable? Absolutely.
Mix slightly lighter than you think you need. And mix more than you think you'll use — running out mid-section and trying to remix the same colour rarely works. Keep a damp paper towel nearby. Acrylic dries fast, so you're constantly rewetting your palette. Use heavy-body acrylics for thick application and fluid acrylics for glazing. They're different tools for different jobs.
"The best colour isn't the one you think matches reality — it's the one that makes your painting work as a whole."
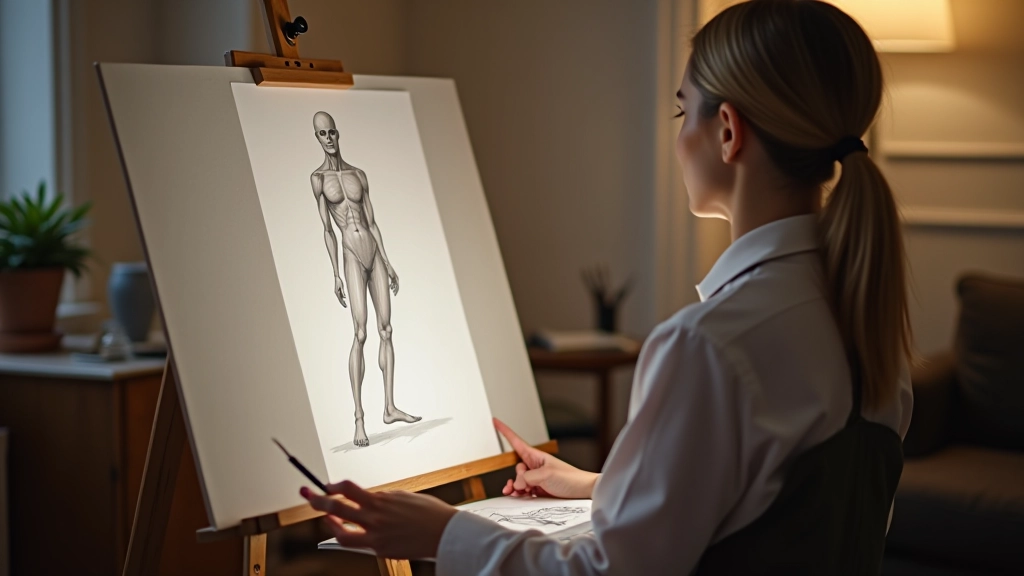
Practical Starting Points
For Your First Painting
Start simple. Not "abstract blob" simple — I mean limit yourself to 3-4 colours max. Mix those colours thoroughly. Build up slowly. Resist the urge to add details immediately. Get comfortable with values first (light to dark). That foundation matters more than technique tricks.
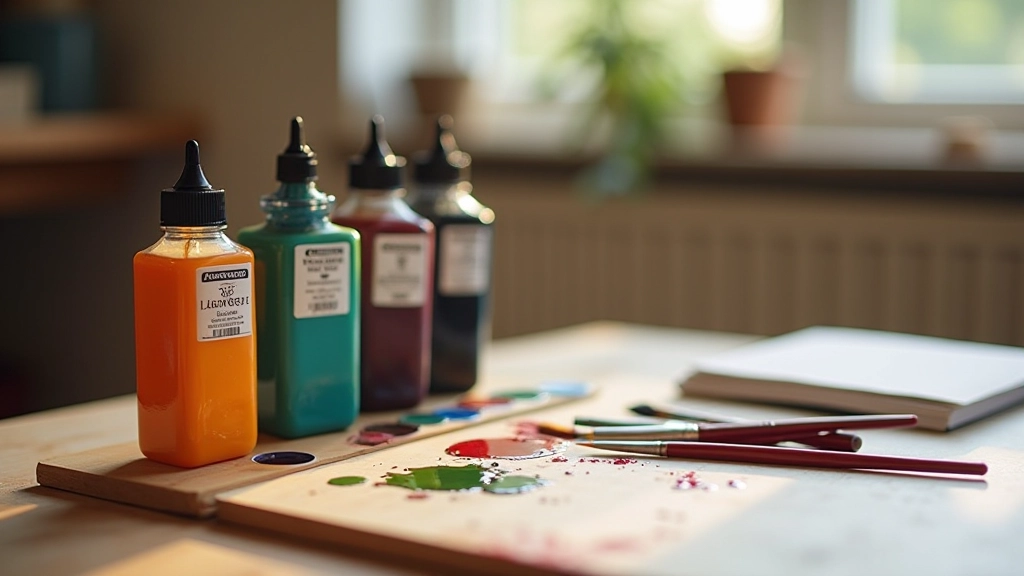
Essential Supplies
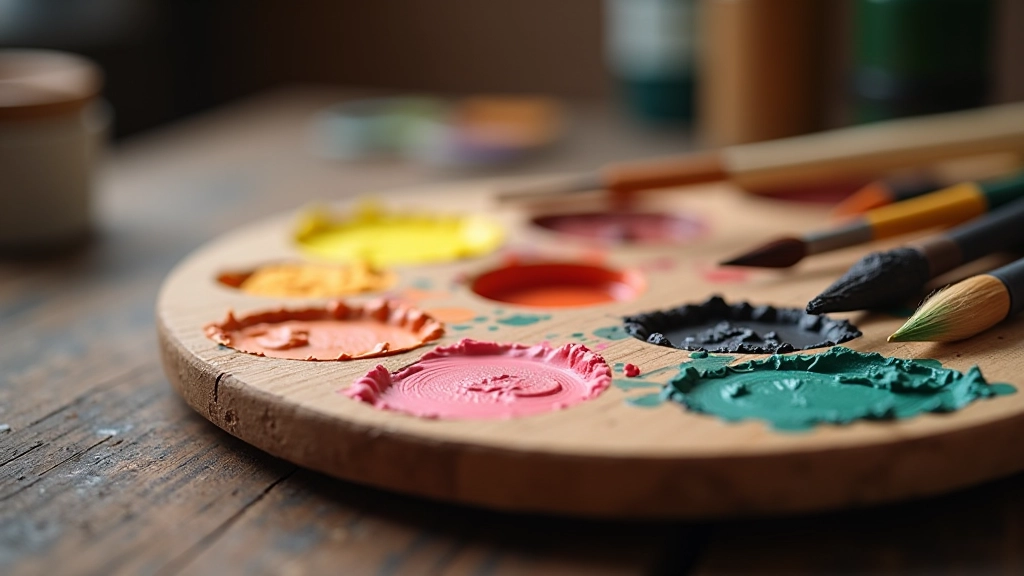
You don't need much. Decent brushes (synthetic, not natural — acrylic is harsh on natural hair), a palette that holds moisture, canvas or acrylic paper, water container, paper towels, and acrylics in primary colours plus white and black. That's genuinely enough to start.
Common Mistakes to Skip
Don't thin paint excessively — it loses opacity and coverage. Don't assume faster drying means you should rush. Don't mix more than 4 colours together (mud happens). Don't paint dark over light without enough opacity. And don't give up after one painting — every artist's early work looks rough.
The Learning Curve Is Real — And Worth It
Acrylic painting isn't difficult, but it does require practice. You'll waste paint experimenting. You'll make paintings that don't work. That's how you learn. The techniques here — layering, glazing, texture — aren't complicated. What matters is repetition. Do ten paintings. You'll see improvement in number three. By number ten, you'll wonder why you didn't start sooner.
The speed of acrylics is genuinely an advantage. You can finish a piece in an afternoon. You can try approaches without massive time investment. That means you learn faster than working with slow mediums. Take advantage of that.
Ready to Try These Techniques?
Join our beginner acrylic painting sessions in Prague. Small groups, hands-on instruction, and an environment where experimentation is encouraged. We meet twice weekly, and you'll paint from day one.
Learn About Our ClassesAbout This Guide
This article provides educational information about acrylic painting techniques. While these methods are widely used and proven effective, individual results vary based on materials, experience, and practice. We encourage experimentation and finding approaches that work best for your style. Art is personal — these techniques are starting points, not rules.
Continue Your Learning