Charcoal Sketching: From Light to Shadow
Master the art of building depth and dimension with charcoal. Learn blending techniques, understand values, and create expressive drawings that come alive.
Why Charcoal Works So Well for Beginners
Charcoal's one of the most forgiving drawing materials you can start with. It doesn't require precision like pen, and you can erase or blend mistakes away without much fuss. The beautiful thing about charcoal is how it responds to different pressure — a light touch gives you delicate grays, while heavier strokes create rich blacks. You'll see results quickly, which keeps you motivated.
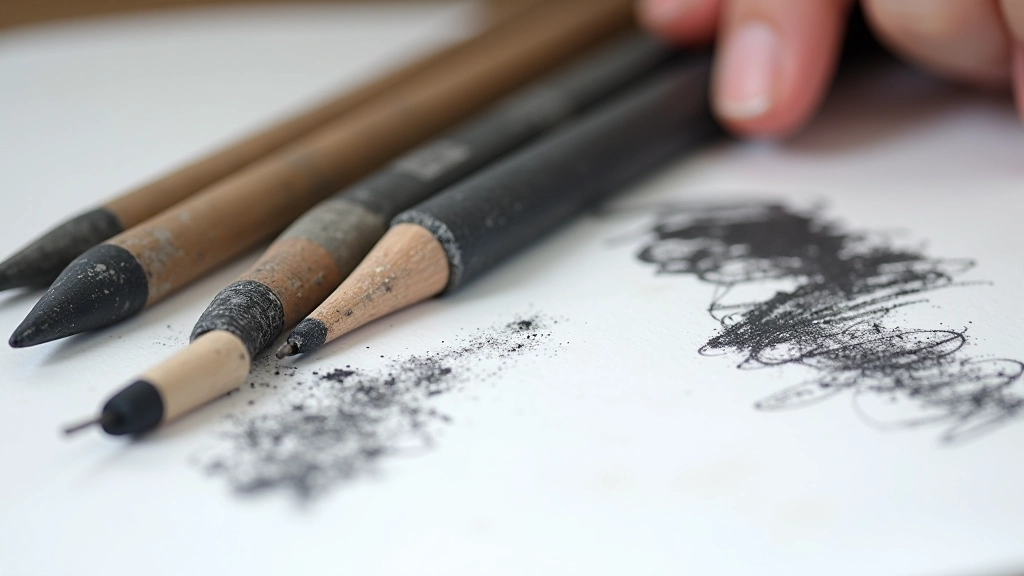
What makes charcoal special is its range. You've got your drawing pencils for detail, compressed sticks for bold marks, and powder for smooth coverage. Each tool does something different, and learning when to use what transforms your work from sketchy to polished.
Understanding Values Before You Start
Value is everything in charcoal drawing. It's the difference between light and dark, and it's what creates the illusion of form and depth on a flat page. Before you even touch charcoal to paper, you need to train your eye to see values correctly.
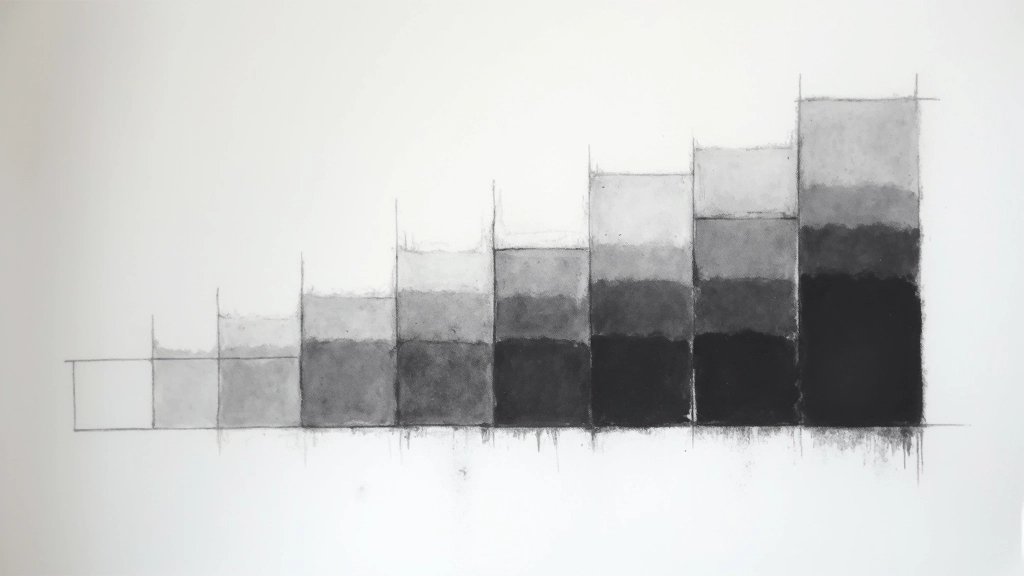
Create a simple value scale — it takes 5 minutes. Draw 10 squares in a row and gradually shade them from white (your paper) through light gray, medium gray, dark gray, and finally black. This isn't just an exercise. You're teaching yourself what your materials can actually do. Most people find they can create maybe 8-9 distinct values comfortably. That's your working range.
The real skill? Knowing where those values belong in your drawing. Shadows aren't just dark. They're a specific value that makes sense next to your highlights. Spend time squinting at your reference image — seriously, squint. It helps you see simplified value shapes instead of getting lost in details.
Blending Techniques That Actually Matter
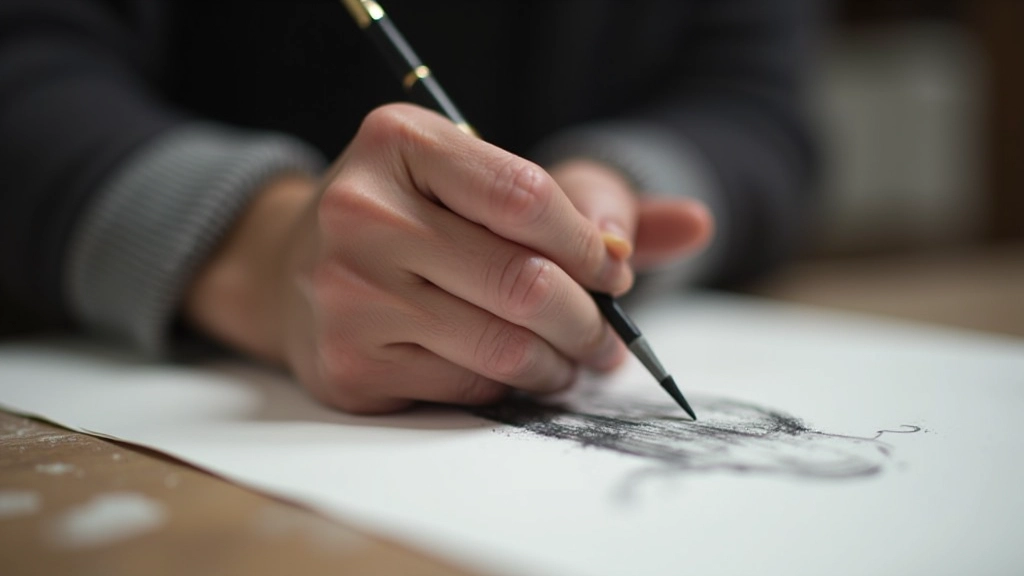
Blending isn't about making everything smooth and pretty. Sometimes rough texture works better. But when you do blend, you've got options. Your finger works fine for gentle blending, though you'll get charcoal all over your hand — protective gloves help if you hate that. Blending stumps and tortillons let you control where the blend happens. Paper stumps are stiffer, tortillons are softer. Pick what feels right.
Here's the thing — you blend to move values smoothly across a transition, not to erase your drawing. If you blend too much, you lose the character. A light blend in shadows keeps them alive. Harsh, unblended edges in highlights make them pop. It's about balance.
One technique that transforms work: the directional blend. Instead of blending randomly, blend in the direction the form is moving. If you're drawing a rounded face, blend the cheek shadows following the curve of the face. This subtle move makes your drawings feel three-dimensional.
The Step-by-Step Process
Building a strong charcoal drawing follows a logical progression. You're not starting with details. You're starting with structure.
Light Gesture Lines
Start with a light pencil or light charcoal pencil. Draw the basic proportions and structure. Don't commit to details yet. You're just mapping the general shape and position. Keep these lines barely visible — they're guides, not part of your final drawing.
Block in Mid-Tones
Use a stick of compressed charcoal to block in the medium values. You're not worrying about light and shadow yet. You're establishing the basic value that covers most of your form. Use the side of the stick for coverage. This layer is quick and loose.
Develop Shadows and Highlights
Now you're working with contrast. Push your shadows darker. Protect your highlights by erasing with a kneaded eraser or leaving paper white. This is where your drawing starts looking three-dimensional. The distance between your darkest darks and lightest lights creates the drama.
Blend and Refine
Blend strategically where values transition. Add final details with charcoal pencils for sharp edges or small dark areas. Step back frequently. What looks right up close might need adjustment from across the room. Final touches are subtle.
Where to Focus Your Practice Time
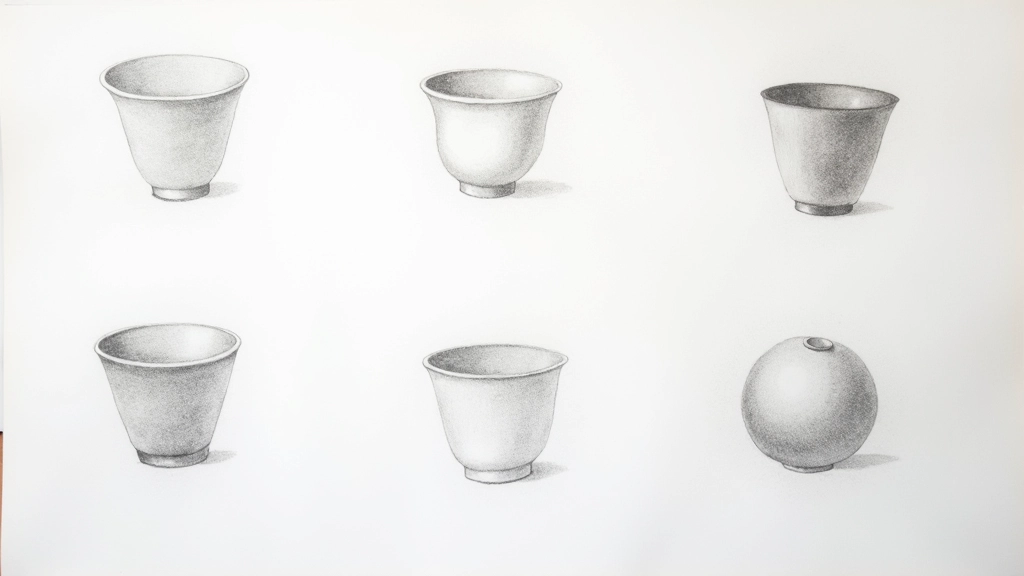
Don't start with complex portraits or landscapes. Seriously. Start with simple objects — an apple, a mug, a piece of fabric with folds. These teach you everything you need. How light wraps around a curved surface. How shadows anchor objects to the ground. How a single highlight makes something look shiny or soft.
Draw the same apple three times. First, get the shape right. Second, focus on value accuracy — matching what you see. Third, push the contrast further than reality. This last one teaches you how exaggeration creates impact.
Your first 10-15 drawings won't be gallery-worthy. That's completely normal and not a problem. You're building the muscle memory and eye training that makes drawing easier. By drawing 20, you'll notice real improvement. By 50, you'll have genuine confidence.
Essential Materials You Actually Need
You don't need an expensive kit. These basics will get you through your first 100 drawings.
Paper
Medium-weight paper with slight texture. Strathmore 400 series or similar. Avoid glossy paper — charcoal won't stick properly. A 9x12 pad costs $8-12 and gives you 50 sheets to practice on.
Charcoal Pencils
Buy a basic set with HB, 2B, 4B, and 6B grades. These let you go from light to dark. A small set costs $5-8. You'll use the 4B most often.
Compressed Charcoal Sticks
Two sticks — one medium, one dark. These cover large areas quickly. A pack of 5-6 sticks is $6-10. They wear down fast but they're affordable.
Blending Tools
A set of 5-6 blending stumps costs $3-5. You could also use your finger or a tissue, but stumps give you more control and keep your hands cleaner.
Erasers
A kneaded eraser ($1-2) is essential. It removes charcoal gently without damaging paper. A regular pink eraser works too, but kneaded is better.
Fixative Spray
Optional but useful. A can of fixative ($8-12) seals your finished drawing so it doesn't smudge. Work in a well-ventilated area or outside when spraying.
Your First Drawing Starts Now
Charcoal drawing isn't mysterious or difficult. It's a straightforward skill that responds to practice. You learn by doing, not by reading. So grab a pencil, some paper, and the nearest object. Draw it three times today. Don't worry about it being perfect. Worry about understanding how the light falls, where the shadows live, and how values create dimension.
Come back to charcoal regularly. Even 20 minutes of practice twice a week builds momentum. Within a month, you'll see your own improvement. Within three months, you'll have a portfolio of work you're genuinely proud of. That's how this works.
Ready to develop your skills further? Our beginner charcoal sketching classes run weekly, with flexible evening sessions perfect for adults learning at their own pace.
Explore Our Drawing ClassesEducational Note
This guide is informational and educational in nature. Individual results vary based on practice frequency, prior experience, and personal learning style. Charcoal drawing is a skill that develops over time with consistent practice. Everyone progresses at their own pace. If you're interested in structured instruction, our qualified instructors provide personalized guidance in group and individual sessions.